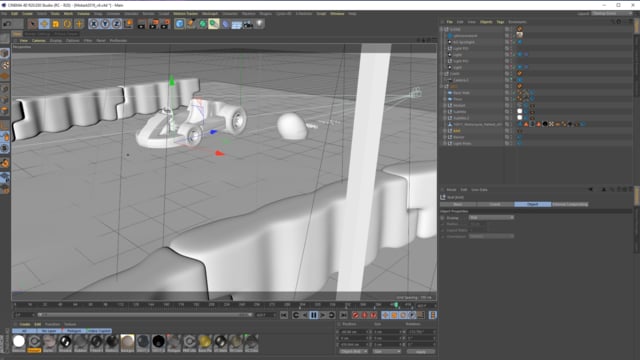
Mokart 2019 + Breakdown
Description of this piece
A breakdown of most of the compositing layers in the promo. Integrating live action 2D elements can really help sell a scene. Also, atmospheres, smoke, and dust are just cinematic!
I modeled the plastic barriers and textured them myself. Beyond a dull plastic, it was fun to use a scratch texture to reveal an asphalt and oil texture for the wear and tear. It’s a little bit tiled, but nobody seems to notice in practice. it was also a chance to use a formula effector to color every other segment.
I’ve used Emir Bojorquez’s Little Go Kart model in for the past few years to promote Mokart, but I’ve textured it uniquely each time. This year it’s a yellow plastic body, carbon fiber engine and back plastic seat.
The helmet was a free model (possibly from turbosqid?) but only came with a diffuse texture. By piping it into the bump channels and cranking the levels to get extra reflections in certain places, I feel I was able to take the simple model to the next level.
Breakdown of all the rendered passes. Optical Flares, Volumetric Cards, Many object IDs, Z depth, Motion Vectors, Smoke Sim, Mist Pass, Clay Render, Raw Render, Final Render
It’s important to always take your renders through a compositing stage. The difference between the raw render and the final is almost as significant as the difference between the clay render and a textured one.
The reason for all of these render passes is to speed up render times. There are a lot of object IDs in this piece, but giving me the ability to adjust the color of each element in compositing, it saves the significant time tweaking in 3D. Other time savings come from not rendering motion blur, depth of field or volumetrics in full 3D. Plugins in compositing allow a Z-depth pass to become parametric depth of field and a motion vector pass makes motion blur a breeze. I cheated volumetrics by sending the 3D position of each light and placing a card with light glows at each place. I also used a mist pass to fake some extra atmosphere farther back in the track. I also saved the 3D positions of the helmet, go kart, and text. to place 3D lens flares properly into the scene.
Z depth and a mist passes contain the same data in different forms for a simple reason. The z depth contains the distance of each pixel from the camera and can be used in applications that are looking for depth. The mist pass is anti-aliased, so i was able to use it as fake atmosphere without worry.
One place I’d have liked to improve is the smoke fluid simulation. I rendered it as a separate element so it didn’t get mixed up in my depth passes, but as a result I had to luma key it and I’m not particularly happy with the result.
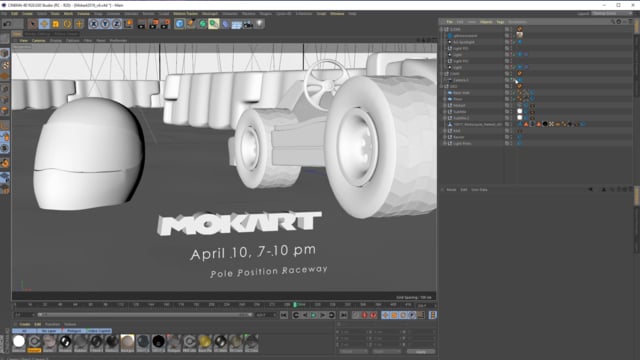
The clay render wasn’t a pass that I used in render, but it shows off the lighting in a way the others don’t.

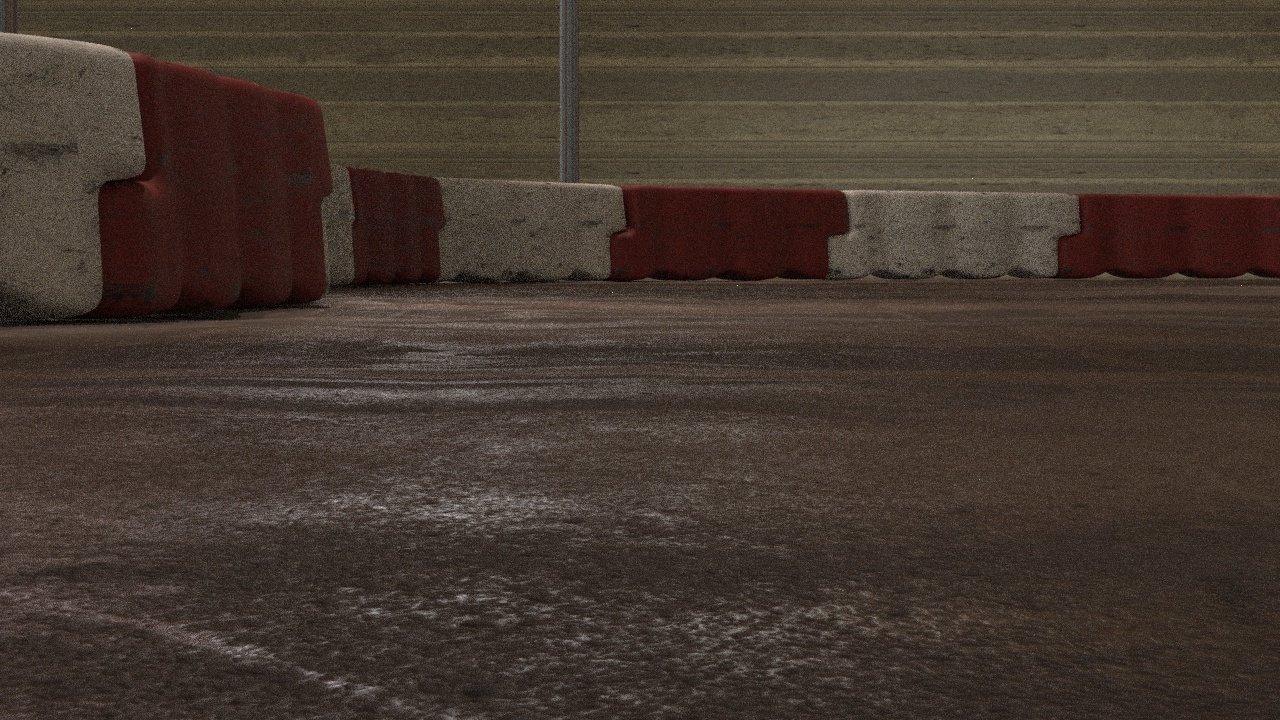
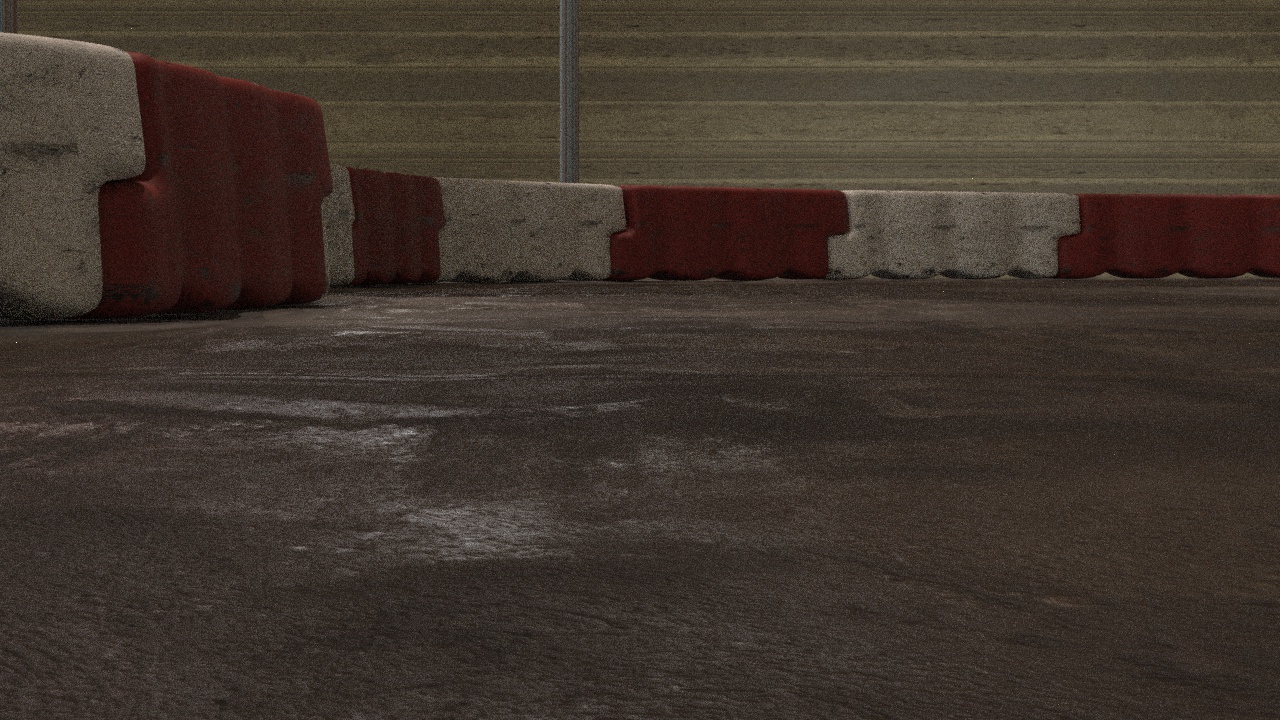
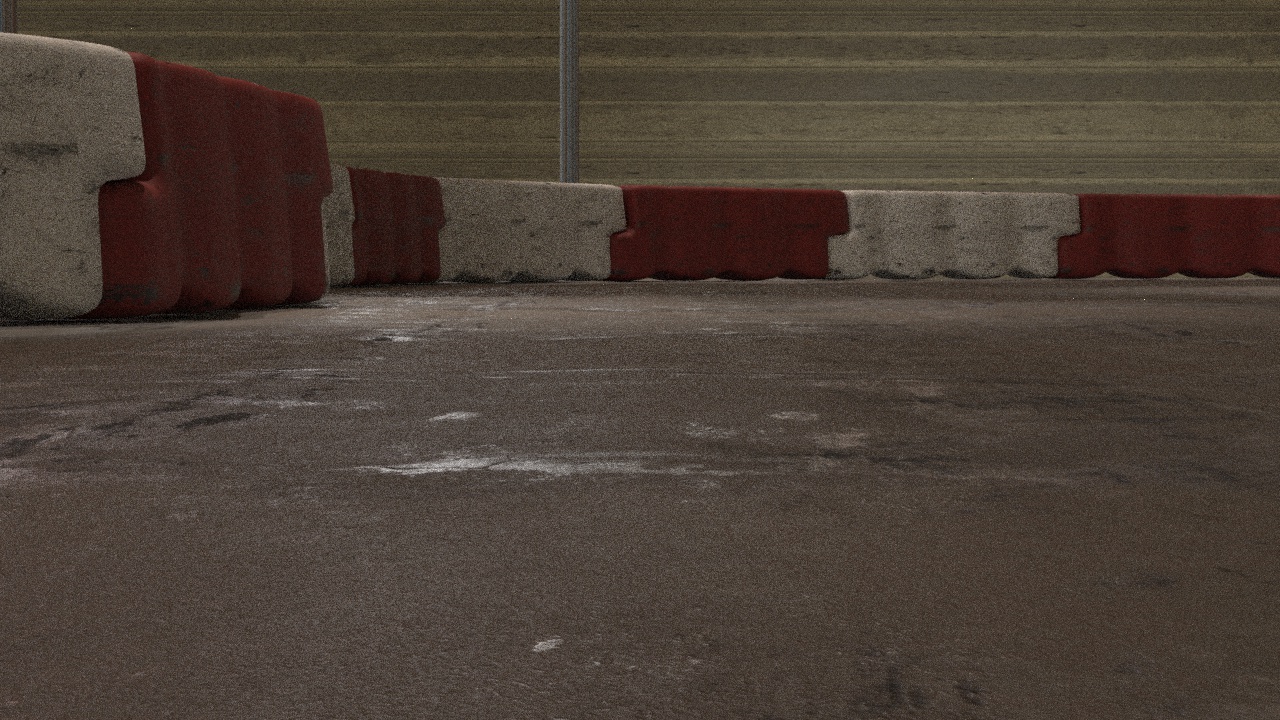
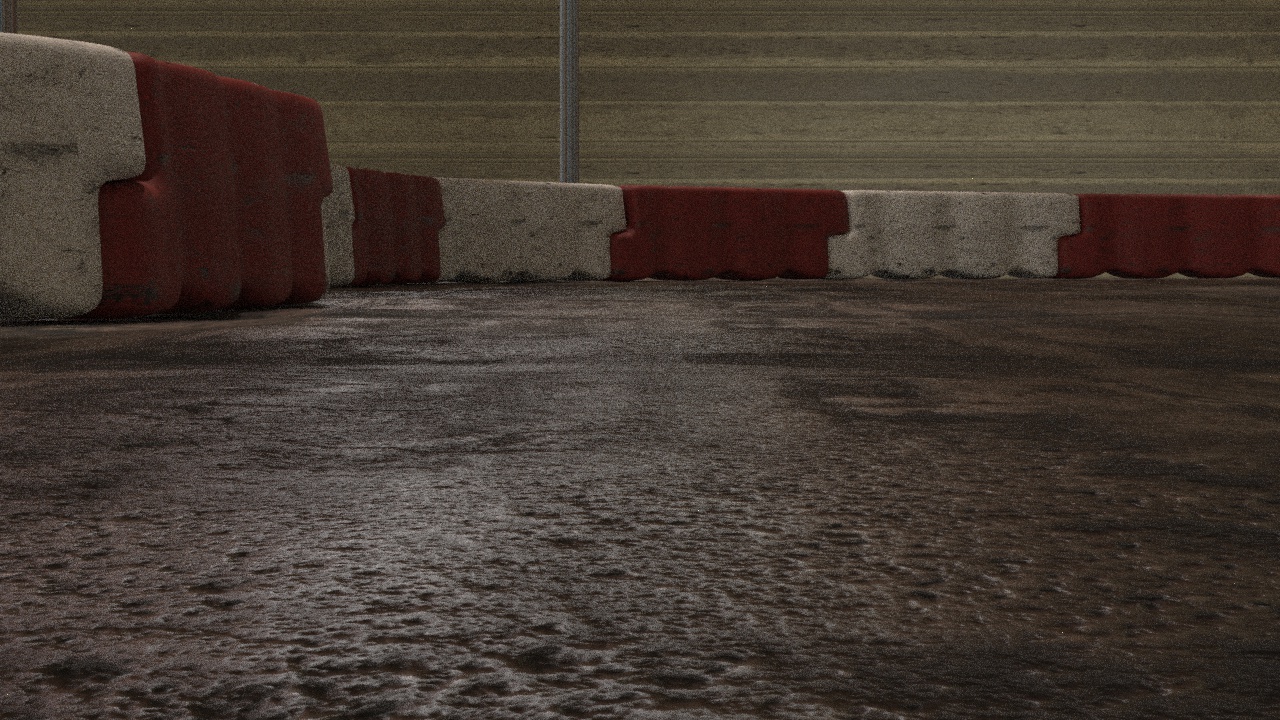
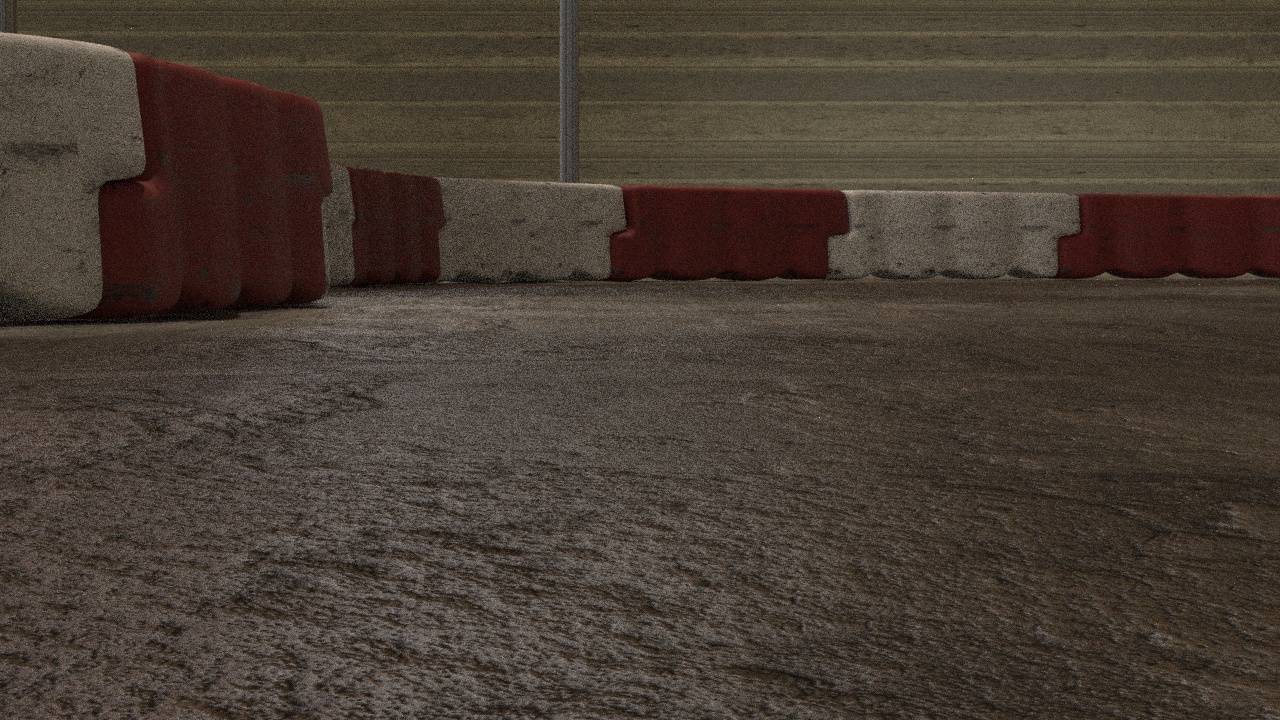
A selection of different concrete options from when I was choosing the look for the track.